First tests
General
How to get started
Write my first app
Publish my app
Library 2.0.0
Security
Troubleshooting
ntp time
Andreas has provided a few test apps so for the moment we don’t have to write, add or upload sketches (apps). In this wiki we asume you have read the previous pages and succesfully added your device to IOTAppStory.com
Their are two ways for managing Projects and Devices. With the Control Panel and the "Quick Settings" in your device's config pages. In this wiki we will look at the latter.
Lets start
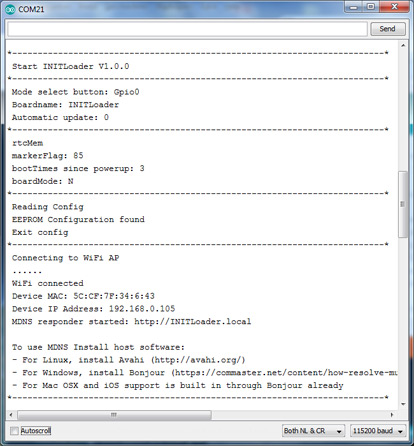
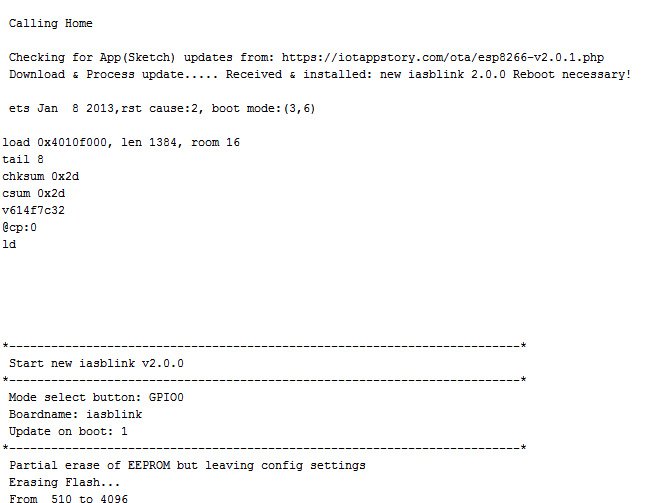
If you are interested in whats going on "under the hood" then this would be a good time to folow things with the Arduino IDE Serial Monitor.
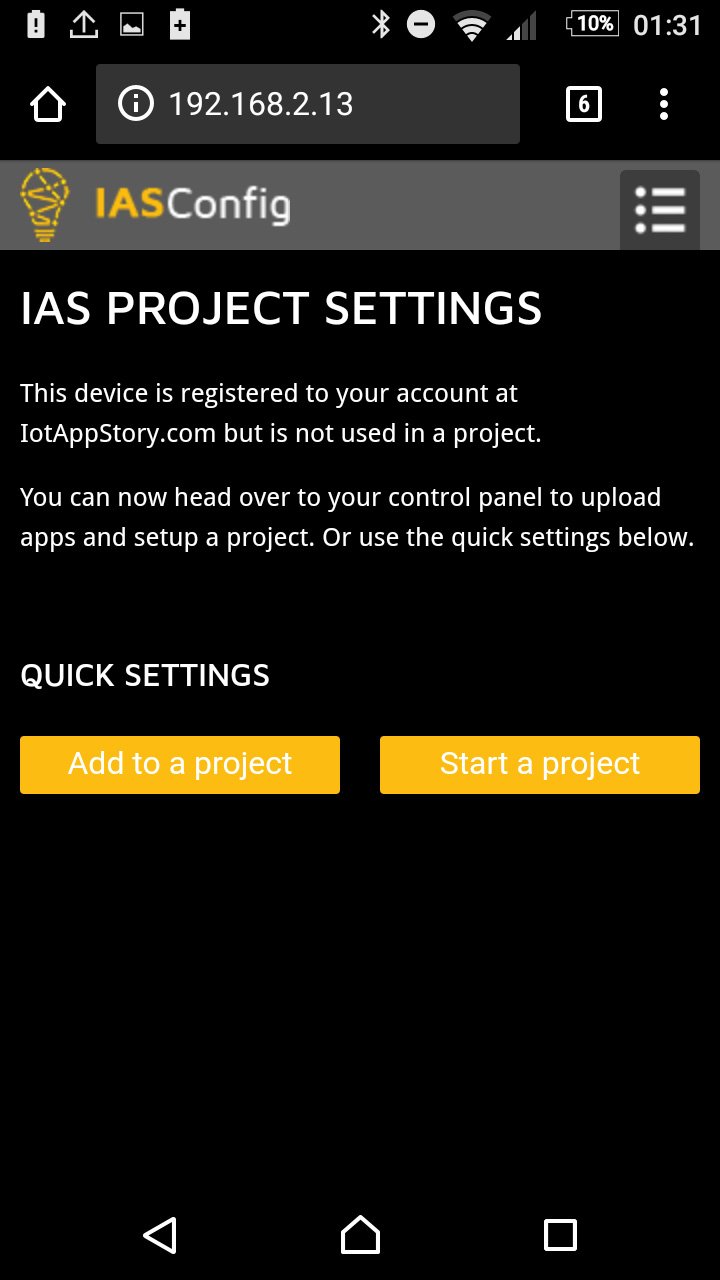
Start a project
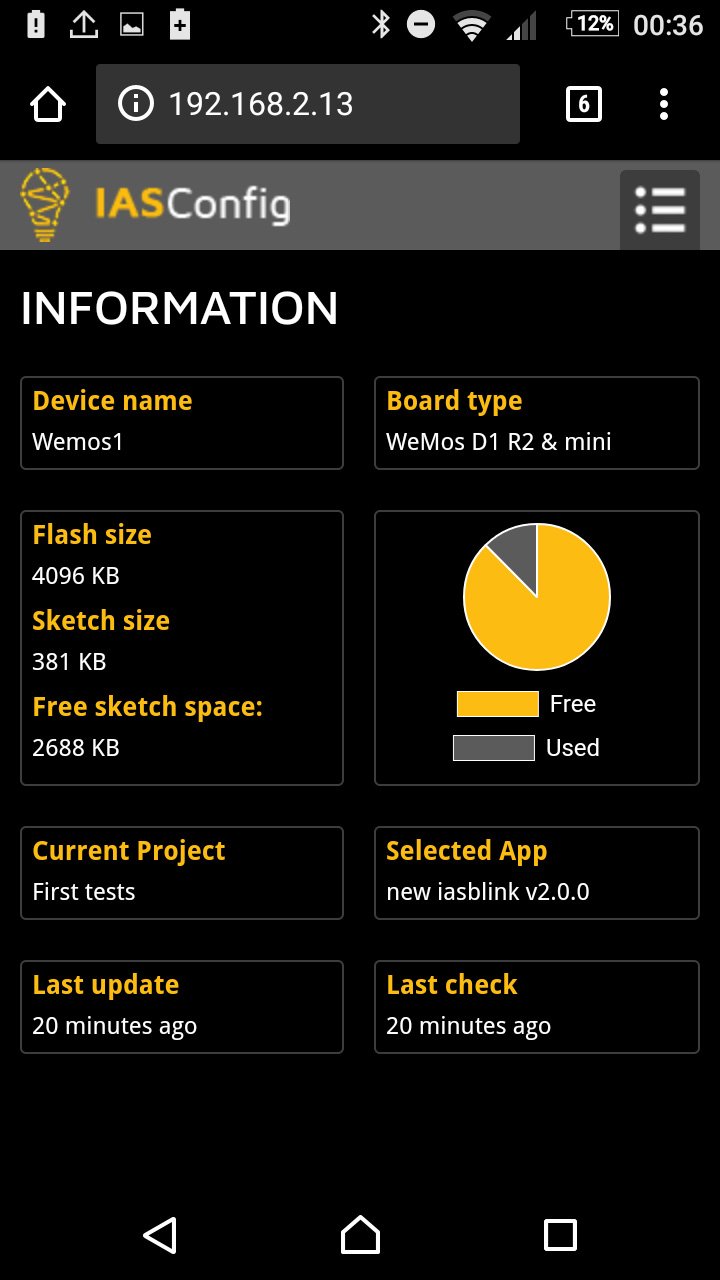
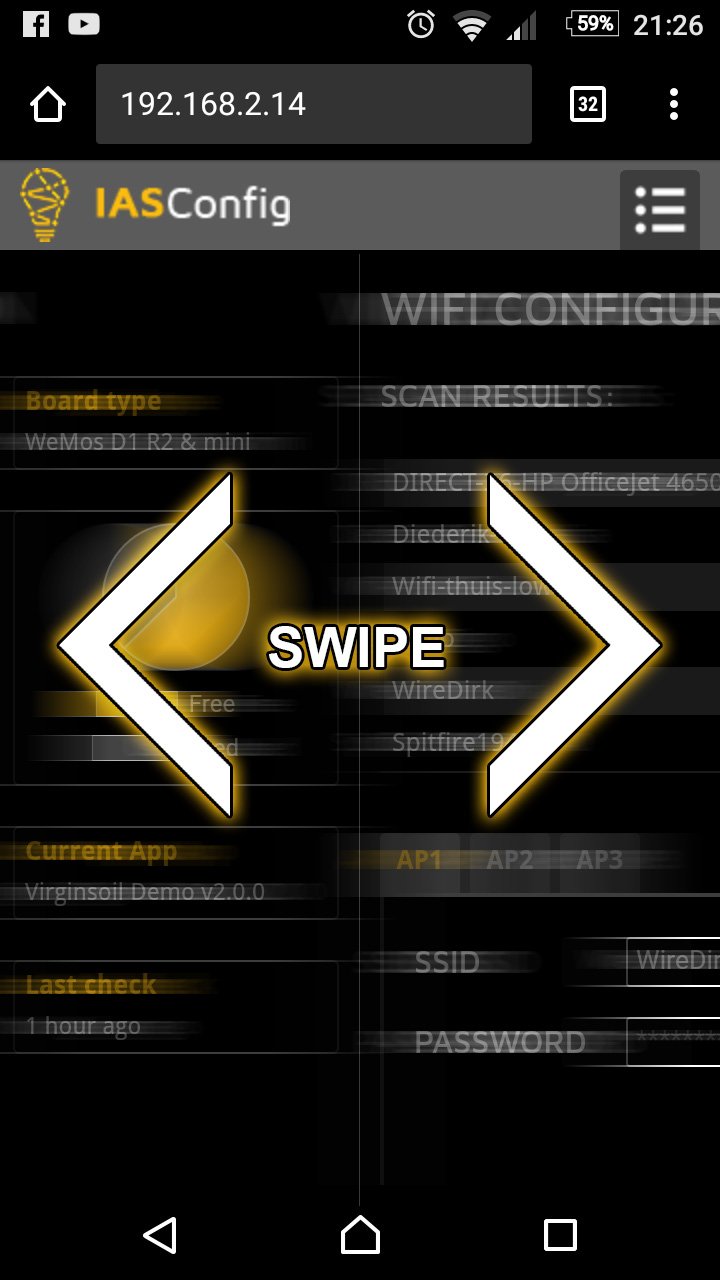
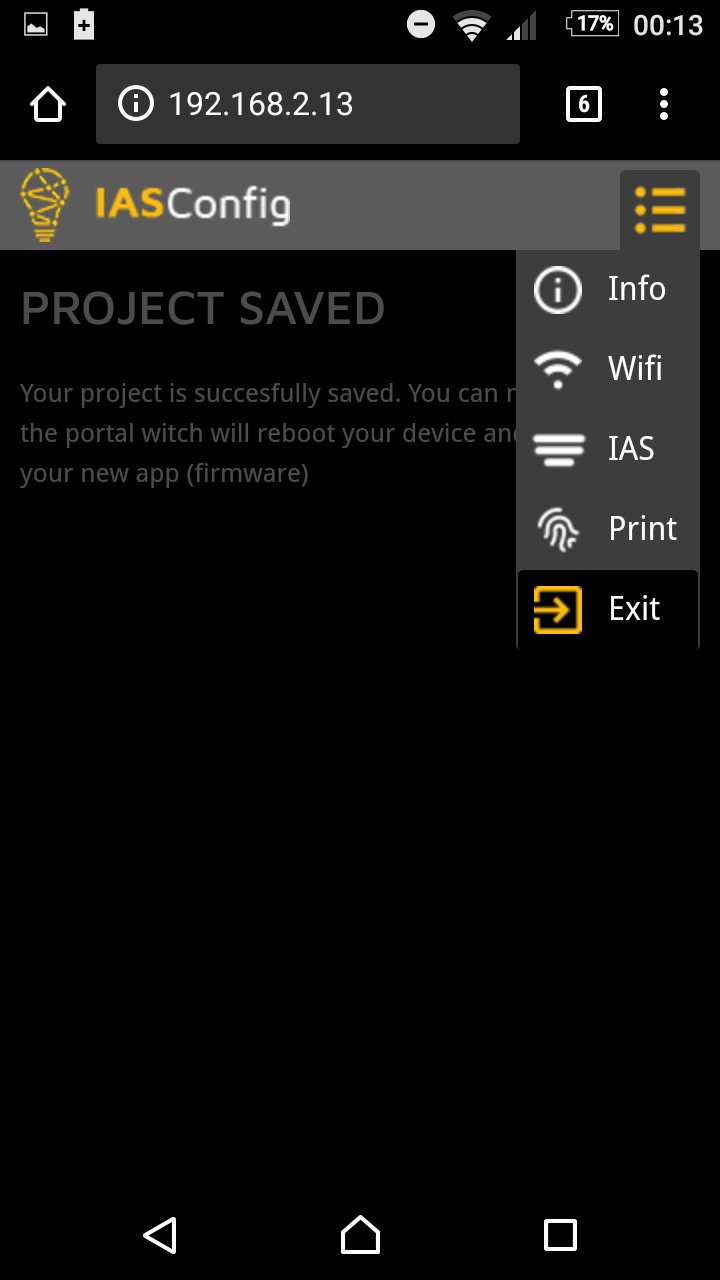
If your not already, boot your devices into config mode by pressing the flash button for 8-10 seconds. And when in config mode go to the "Project Settings" page. (swipe or use the menu button in the top right corner)
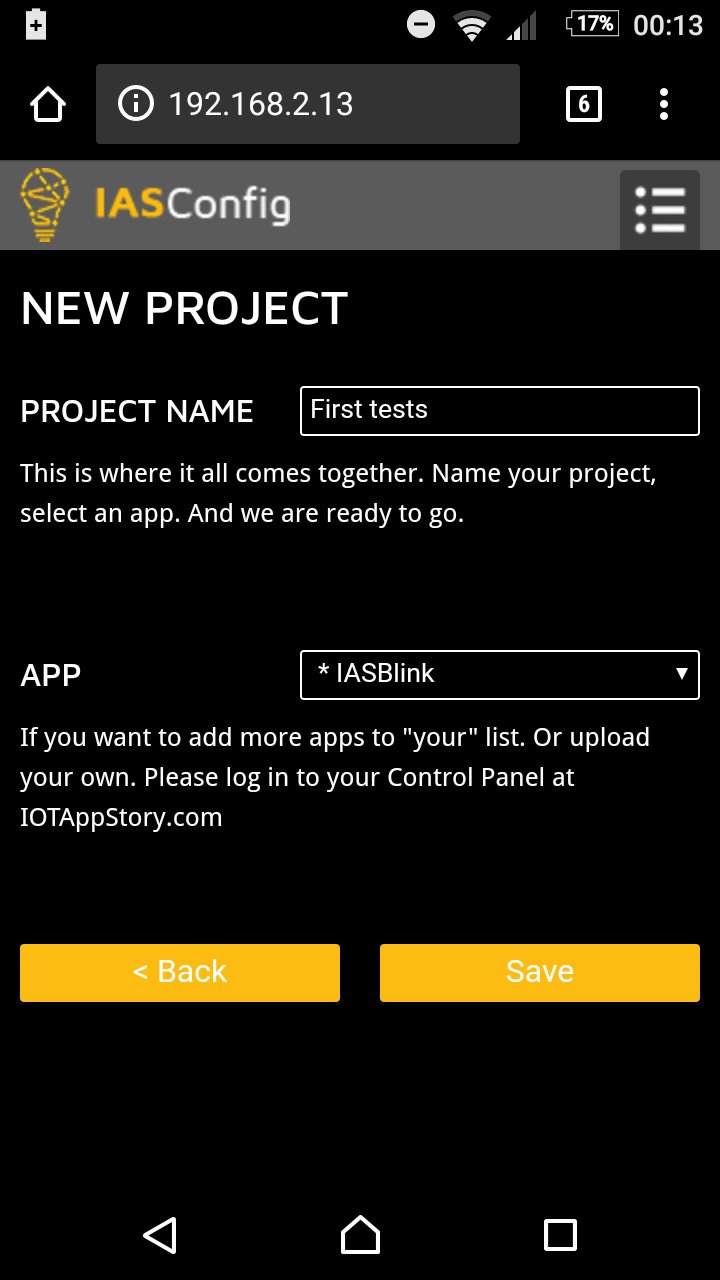
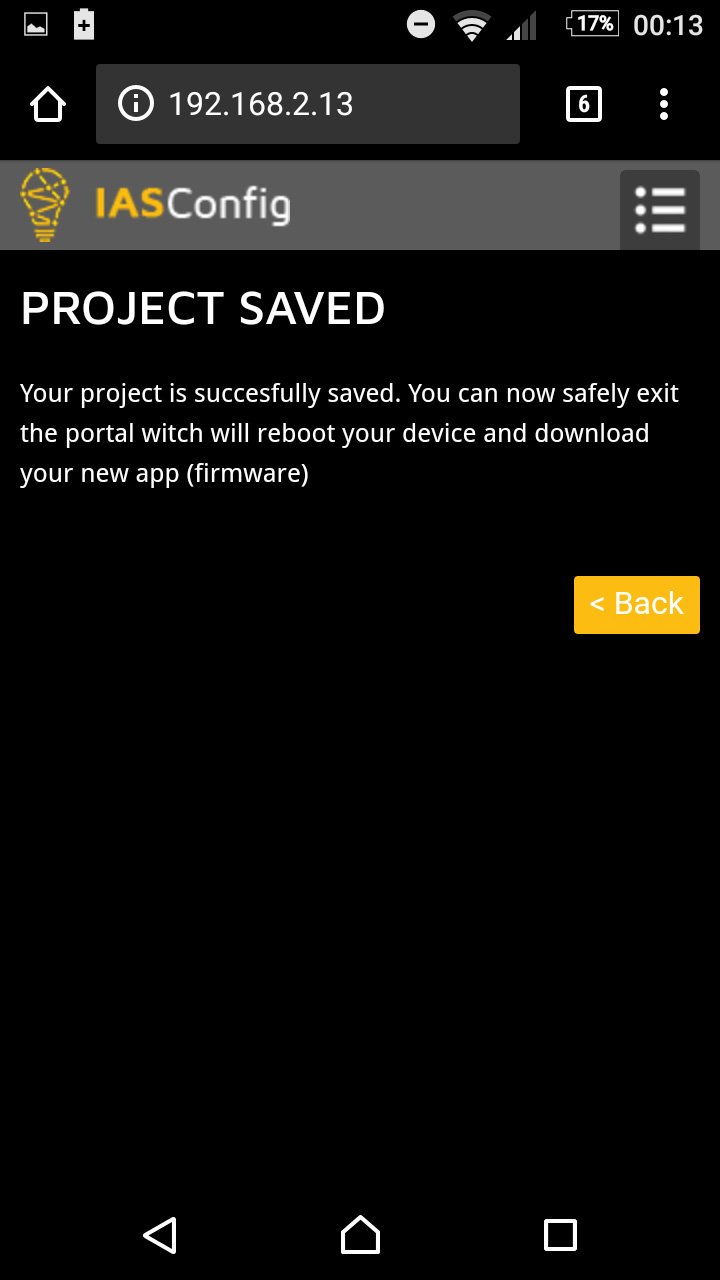
Name your project and select the IASBlink app. After this press Save, wait for the confirmation screen, press Exit and exit config mode.
Your device will reboot, check IOTAppStory.com for updates, download and boot the Blink app.
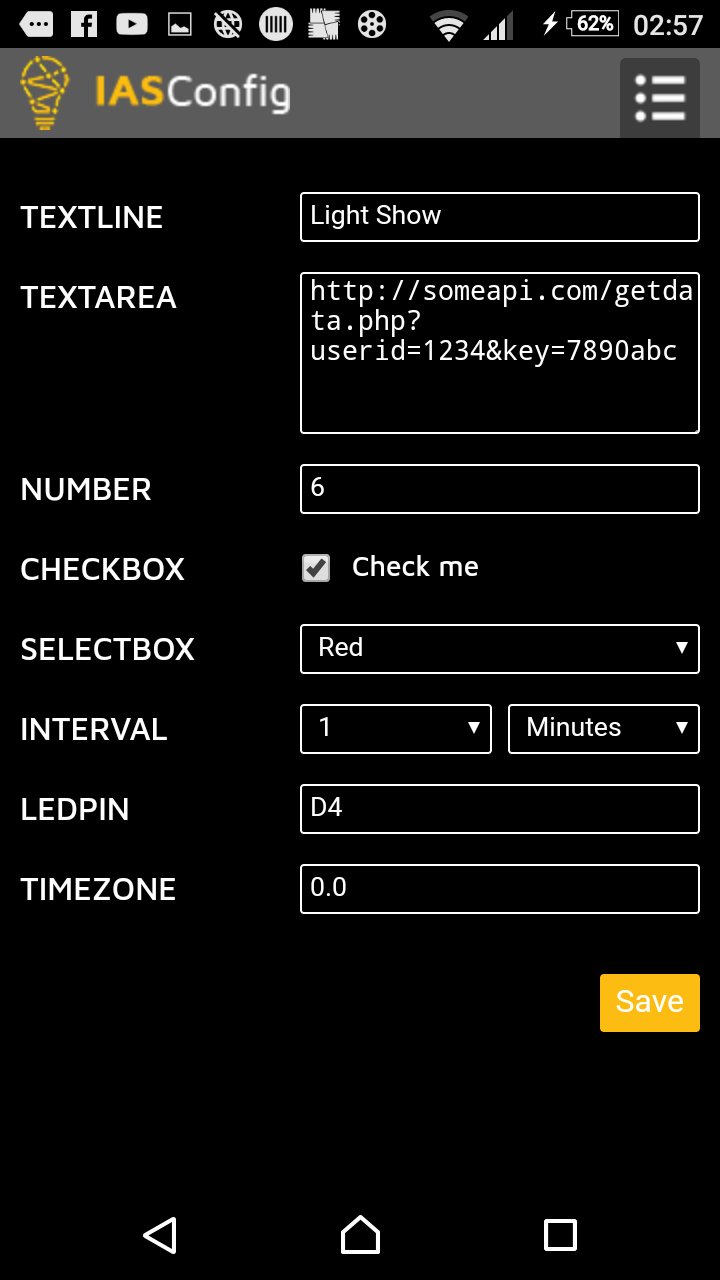
Edit App Settings
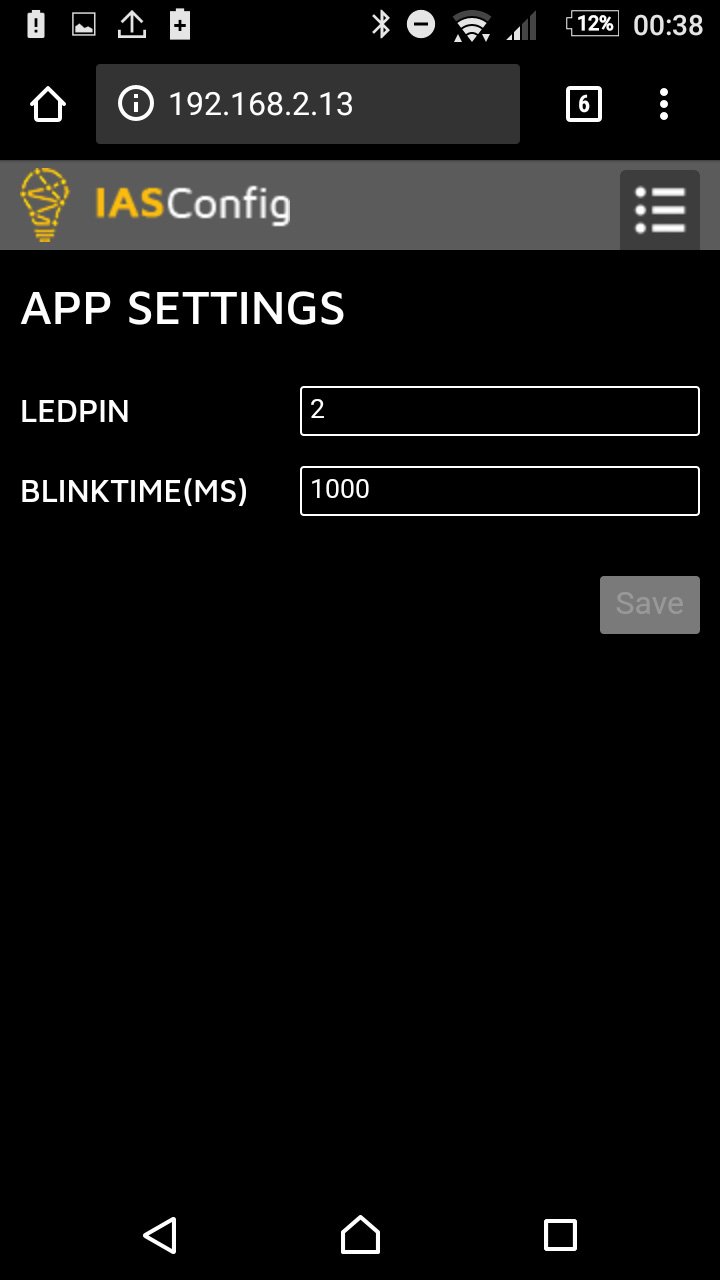
This App is written in such a way that if necessary you can change the ledPin and blinktime in the "App Settings" page in config mode.
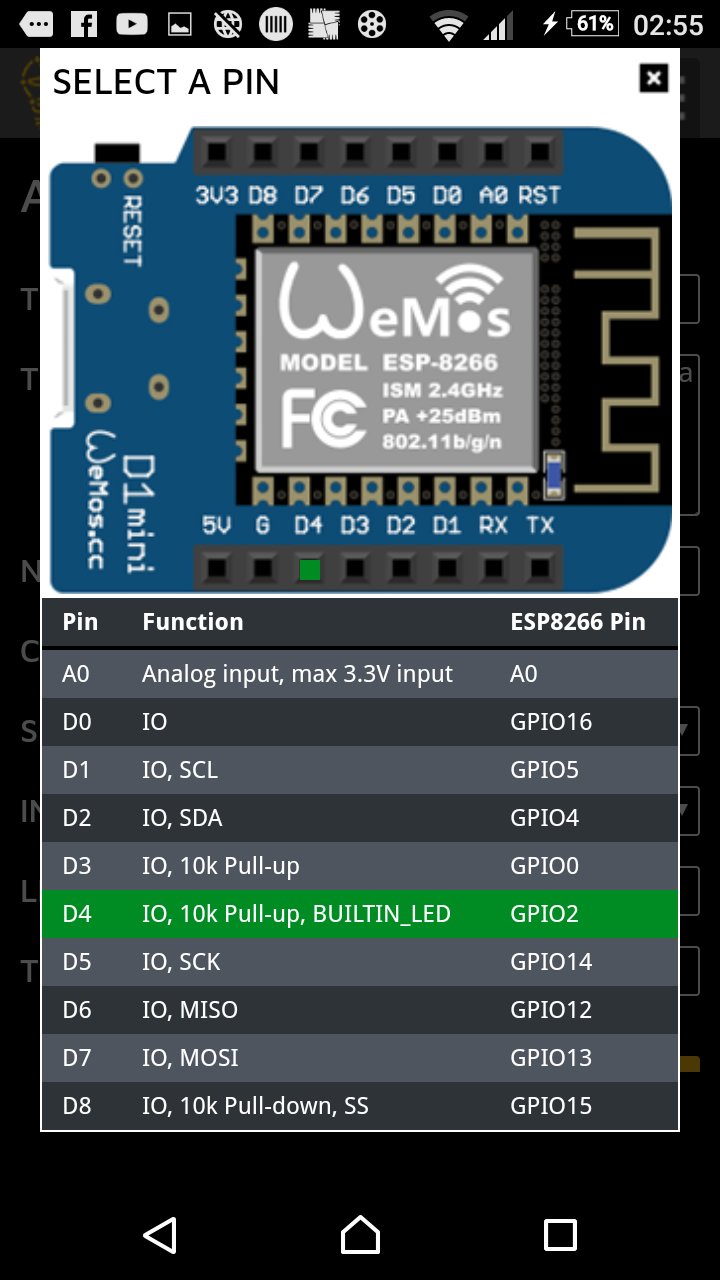
(The default blink pin is Gpio2 or D4 for Wemos and Node users)
Edit your project
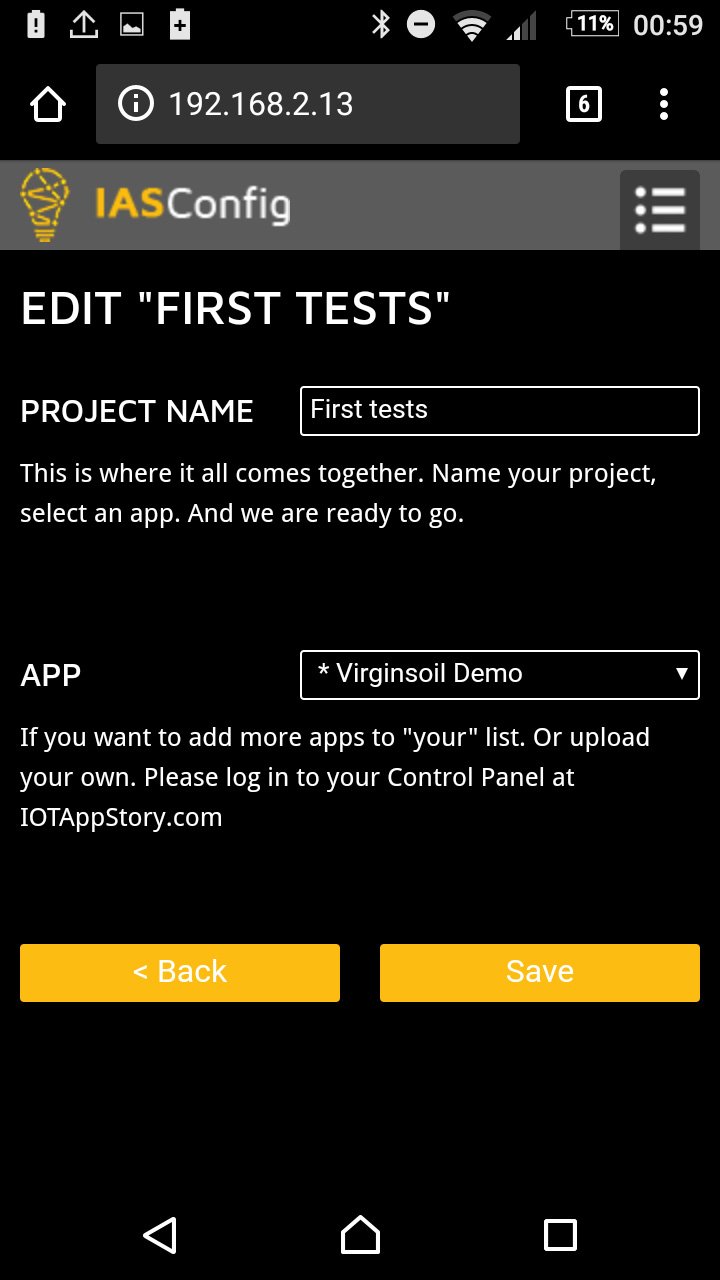
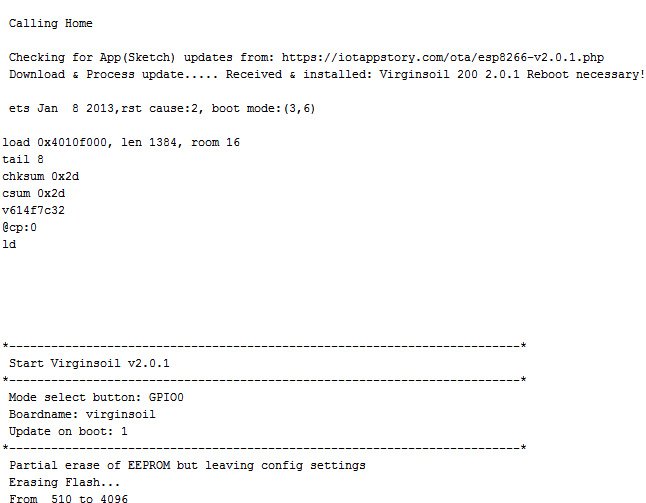
Now to experience the power of OTA updates let's go back to the "Project Settings" and change the selected App to "VirginSoil Demo". And just like before Save, Exit, exit config mode. And let your device download and boot the selected app.
(Wemos users can also select the Clock or Temp app.) And it is worthwhile checking out the different "App Settings" for each of these example apps.
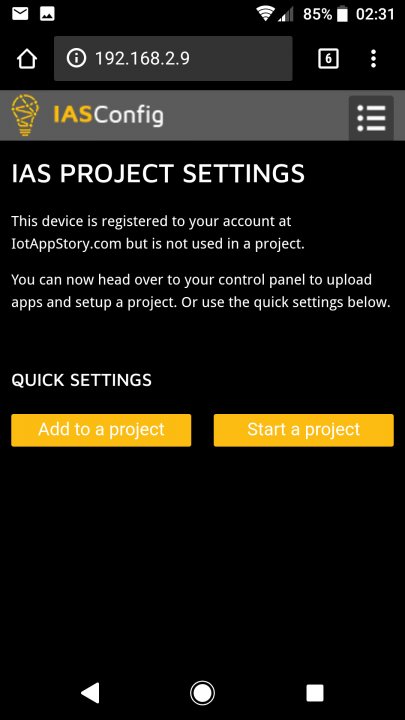
Add to a project
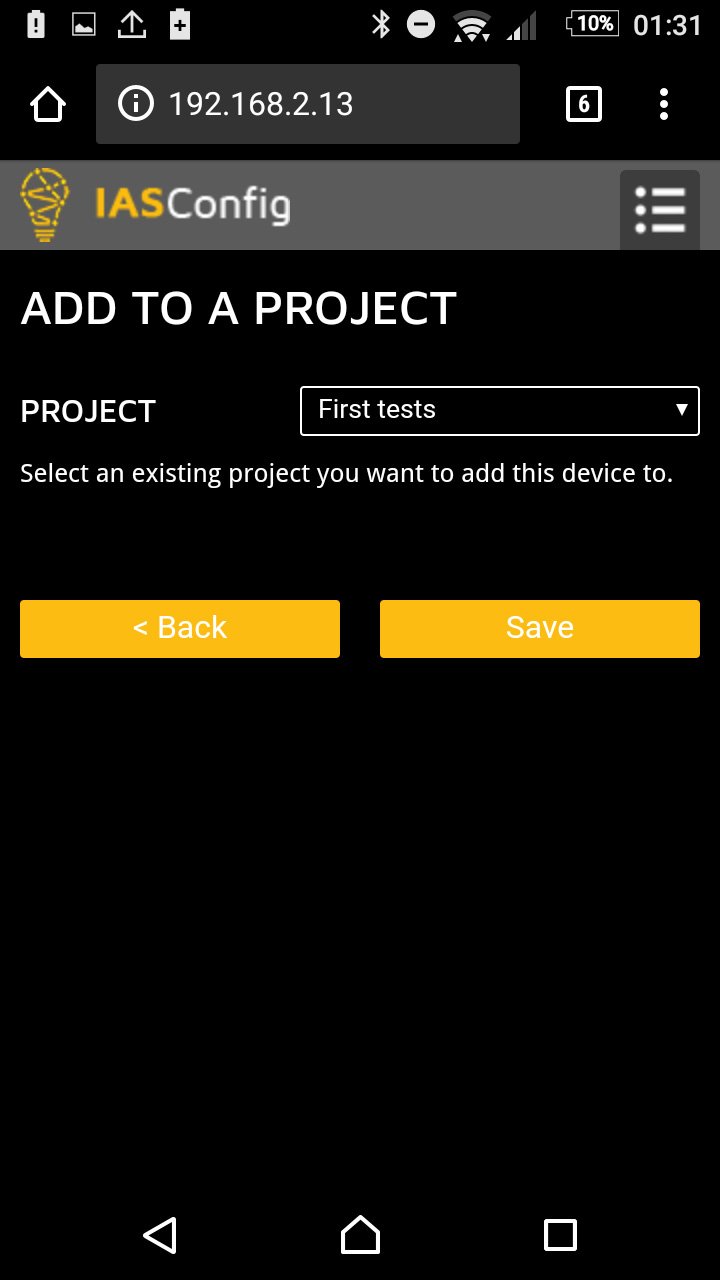
On of the great features of projects is that they can contain multiple devices. So if you have an other ESP8266 based device laying around. Add it like before. But this time press the "Add to a project" button and select your previous project.
Now all changes made to this project will effect both devices.